Views: 0 Author: Site Editor Publish Time: 2026-08-25 Origin: Site


Transitioning a property from daylight to nighttime visibility requires more than just placing fixtures in the dirt. It requires a technically sound, low-voltage electrical system. First-time buyers often waste capital on incompatible components, underpowered transformers, or fixtures that corrode within a year. This happens due to a lack of understanding regarding system architecture, design theory, and voltage drop realities. You need a structured, engineering-based approach to evaluating, sizing, and purchasing the right low-voltage components. By following technical principles, you ensure longevity, safety, and optimal performance for your outdoor spaces. This landscape lighting buying guide walks through the exact specifications needed to build a resilient system from the ground up, avoiding common pitfalls that plague amateur installations.
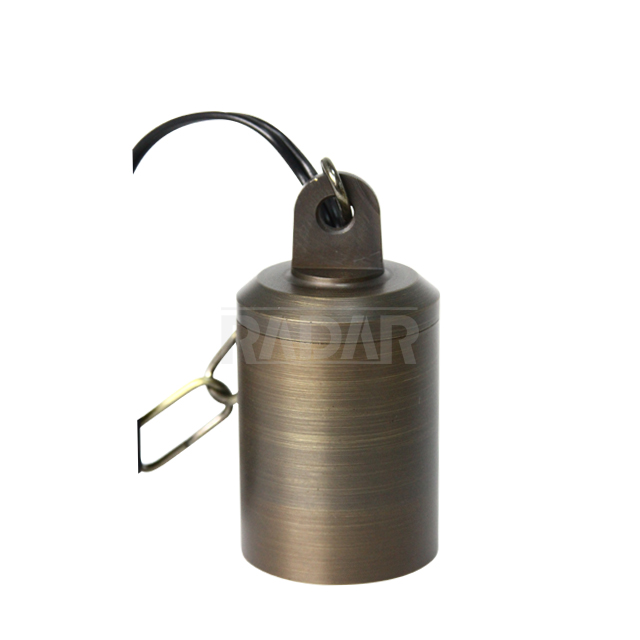
The 1.5x Power Rule: Never buy a transformer based on exact wattage. Always calculate total system wattage and multiply by 1.5 to ensure stability and future scalability.
Material Dictates Lifespan: Cast brass and copper fixtures offer significantly higher long-term ROI than composite or aluminum alternatives, especially in high-moisture or coastal environments.
Voltage Drop is the Primary Risk: Success relies heavily on selecting the correct wire gauge (typically 12/2 or 10/2) and utilizing proper wiring topologies (like the hub method) to ensure uniform brightness.
Standardization Over Proprietary Systems: Opting for fixtures with replaceable LED drop-in bulbs (like MR16s) often provides better long-term maintainability and cost savings than sealed, integrated LED fixtures.
Table of Contents
Before purchasing hardware, you must establish clear benchmarks for what constitutes a successful installation. A well-designed system balances technical safety with visual appeal while remaining durable against the elements. Ignoring these foundational criteria often leads to premature system failure or underwhelming visual results. Field experience shows that planning for these four pillars prevents the majority of post-installation callbacks.
Operating strictly within 12V-15V parameters eliminates the severe shock hazards associated with standard 120V line voltage. Low-voltage systems remain inherently safer for residential environments, especially in areas prone to standing water or where children and pets play. Adhering to these voltage limits ensures you comply with local outdoor electrical codes. You avoid the need for deep trenching and rigid conduit required by high-voltage installations. Safety begins at the transformer and extends through every spliced connection in the yard. Proper grounding at the power supply and using direct-burial rated components keeps the entire network secure.
A successful design achieves uniform color temperature and lumen output across the entire property. You want to avoid the common pitfall of lights dimming noticeably at the end of long cable runs. Consistency in Kelvin ratings ensures your home does not look like a patchwork of cool blue and warm yellow lights. Every fixture should contribute to a cohesive visual narrative. When you maintain stable voltage delivery, the light output remains crisp and identical from the first fixture to the last. Mixing 2700K and 3000K bulbs accidentally is a frequent error that disrupts the visual harmony of a landscape.
Outdoor environments are hostile to electrical components. Ensuring all selected parts carry appropriate IP (Ingress Protection) ratings is non-negotiable. Fixtures and connectors must withstand direct burial, heavy rainfall, freezing temperatures, and UV exposure. Look for IP65 ratings for above-ground directional lights and IP67 or IP68 for well lights submerged in soil. Weather resistance extends beyond the fixture housing. It includes the quality of the wire insulation and the waterproofing of your electrical splices. When installing well lights in clay soil, dig an extra six inches and backfill with crushed gravel to ensure proper drainage. Standing water will eventually breach even IP68 seals if left submerged for months.
Evaluating long-term energy savings heavily favors modern low-voltage LED systems over legacy halogen setups. LEDs consume a fraction of the electricity while delivering superior lumen output. They also generate significantly less heat, reducing wear on internal components. While the initial investment in high-quality brass LED fixtures might seem higher, the operational efficiency quickly offsets the upfront expense. You eliminate the constant need to replace burnt-out halogen bulbs and lower your monthly utility draw. A standard 35-watt halogen spotlight can be replaced by a 5-watt LED, allowing you to run more fixtures on a smaller, more efficient transformer.
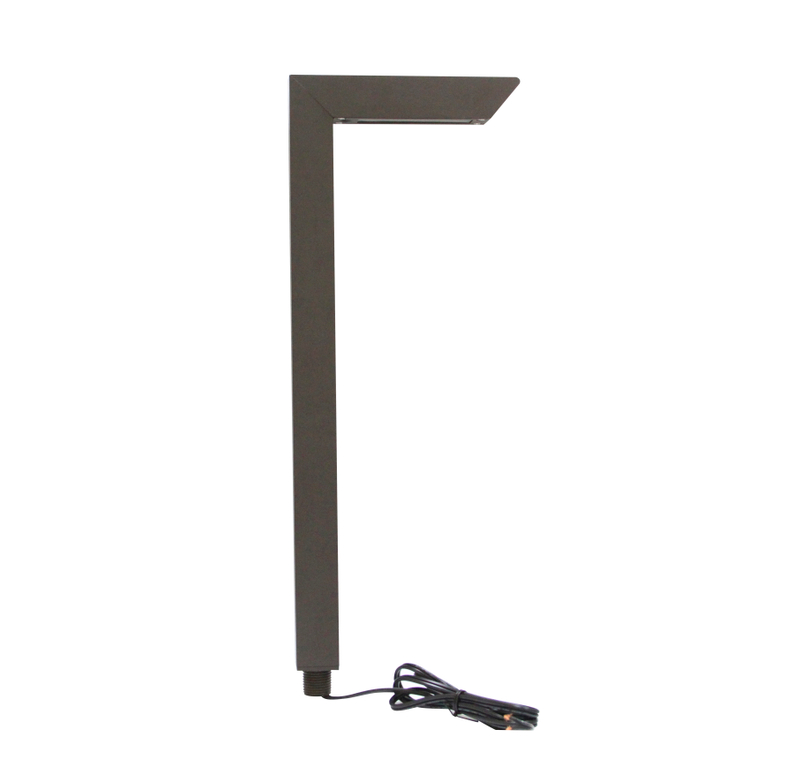
Every reliable outdoor lighting setup relies on three distinct pillars working in harmony. Understanding how power originates, travels, and ultimately converts into light is necessary for making informed purchasing decisions. A failure in any one of these three components compromises the entire network.
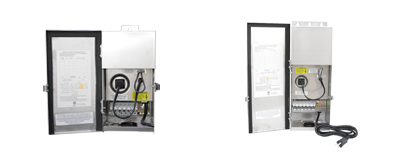
The transformer acts as the heart of your system. Its primary role involves stepping down standard 120V household line voltage to a safe 12V or 15V low-voltage output. Without this conversion, you cannot safely run direct burial cables through your garden beds. Evaluating multi-tap transformers becomes necessary when planning longer runs. A multi-tap unit provides various voltage output terminals, such as 12V, 13V, 14V, and 15V. This flexibility allows you to push higher voltage down a long cable, effectively combating the natural voltage drop that occurs over distance. By the time the power reaches the distant fixtures, it drops back down to the optimal 12V operating range.
Power must travel from the transformer to the fixtures through a reliable delivery network. This network consists of direct burial cable, specifically designed to withstand soil acidity and moisture without degrading. Understanding stranded copper wire specifications helps you choose the right capacity. The relationship between wire gauge (AWG), cable length, and electrical resistance dictates system performance. Thicker wires, represented by lower AWG numbers like 10/2 or 12/2, offer less resistance. Less resistance means power travels further before degrading. Using thin 16-gauge wire for long runs guarantees significant voltage drop, resulting in dim, underperforming lights.
Wire Gauge (AWG) | Maximum Wattage Load | Recommended Max Distance (ft) | Best Application |
|---|---|---|---|
16/2 | 100W | 50 ft | Short runs, single fixture extensions |
14/2 | 150W | 100 ft | Small garden beds, tight clusters |
12/2 | 200W | 150 ft | Standard residential pathways and uplighting |
10/2 | 250W | 250 ft | Long driveway runs, heavy load hubs |
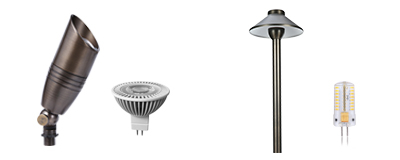
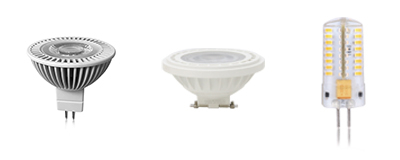
The final component is the output stage, where electrical energy becomes visible light. It helps to differentiate between the housing and the lamp. The housing represents the physical fixture body, usually made of metal or composite, which protects the internal components from the elements. The lamp is the actual light source, such as an MR16 or G4 LED bulb. Separating these two concepts allows you to understand maintainability. If a lamp fails in a drop-in system, you simply replace the bulb while keeping the durable housing intact. This modular approach ensures the output stage remains adaptable and easy to service over the years.
Selecting the correct transformer size prevents system overloads and premature equipment failure. Many buyers make the mistake of matching transformer capacity exactly to their current fixture wattage. This approach leaves zero room for error or future expansion. Proper sizing requires simple math and a strategic mindset.
Determining your required power supply starts with a step-by-step formula. You must account for every diode on the property. Follow this sequence to ensure accurate sizing:
Count the total number of fixtures planned for the initial installation.
Identify the exact wattage of the LED bulbs you intend to use in each fixture.
Multiply the number of fixtures by their respective wattages and sum the totals to find your base load.
Apply the 1.5x multiplier rule to the base load to determine the minimum transformer rating required.
If you plan to install ten path lights at 3 watts each and five spotlights at 5 watts each, your base load equals 55 watts. Multiply your base load of 55 watts by 1.5 to get 82.5 watts. In this scenario, you need a transformer rated for at least 100 watts to ensure stable, cool operation. This overhead protects the internal coils from overheating during extended nighttime use.
Modern power supplies offer various control mechanisms beyond a simple on/off switch. Mechanical timers and photocells provide basic automation. A photocell detects ambient light, turning the system on at dusk and off at dawn. Mechanical timers allow you to set specific operating hours, saving energy late at night. Smart home integration takes system management further. Assess Wi-Fi controllers, independent zoning capabilities, and app-based scheduling. These features allow you to control different areas of the yard independently from your smartphone. Consider the physical build of the unit. Stainless steel housings offer superior outdoor mounting durability compared to powder-coated alternatives, which may rust if scratched during installation.
Landscapes evolve. You might add a new patio, plant additional trees, or expand a garden bed next spring. Leaving 20-30% capacity open on the transformer block accommodates future additions without requiring a complete power supply upgrade. When you oversize the transformer initially, you buy flexibility. Adding three new spotlights to highlight a newly planted oak tree becomes a simple matter of tapping into the existing line. Planning for growth prevents the frustration of maxing out your power source during the first phase of installation.
Excellent illumination requires more than scattering fixtures randomly across the lawn. It demands a thoughtful approach to visual composition. By applying established design principles, you transform a dark yard into a dynamic, inviting environment.
Effective outdoor design relies on balancing ambient, task, and accent lighting. Ambient light provides general illumination for navigation. Task lighting focuses on specific functional areas, like outdoor kitchens or stairways. Accent lighting highlights architectural details or striking foliage. Layering these three types creates depth and dimension. You want to avoid a flat, over-illuminated yard that resembles a sports stadium. By varying the intensity and placement of fixtures, you create shadows and contrast. This interplay between light and dark generates visual interest and guides the eye naturally through the space.
Nothing ruins an evening outdoors faster than a bright LED shining directly into your eyes. Mitigating glare is a primary component of professional design. Select fixtures equipped with glare guards, hex louvers, and appropriate shrouds. These accessories keep the light focused tightly on the intended subject. A hex louver cuts off peripheral light spill, ensuring the beam only hits the tree trunk and not the adjacent seating area. Proper aiming techniques also help. Always angle spotlights away from primary viewing angles and neighboring properties to minimize light pollution.
Before placing a single path light, identify the primary architectural features or mature trees on the property. These elements serve as the anchor for your entire lighting design. Uplighting a large oak tree or washing a textured stone chimney establishes strong visual anchors. Once you secure these focal points, you can begin filling in the negative space with softer pathway and garden bed illumination. Building the design around major features ensures the final result feels intentional and structurally sound.
Different areas of your property demand specific fixture types. Using a spotlight to illuminate a walkway creates harsh glare, while using a path light to illuminate a tall tree proves entirely ineffective. Matching the fixture to the application guarantees optimal performance.
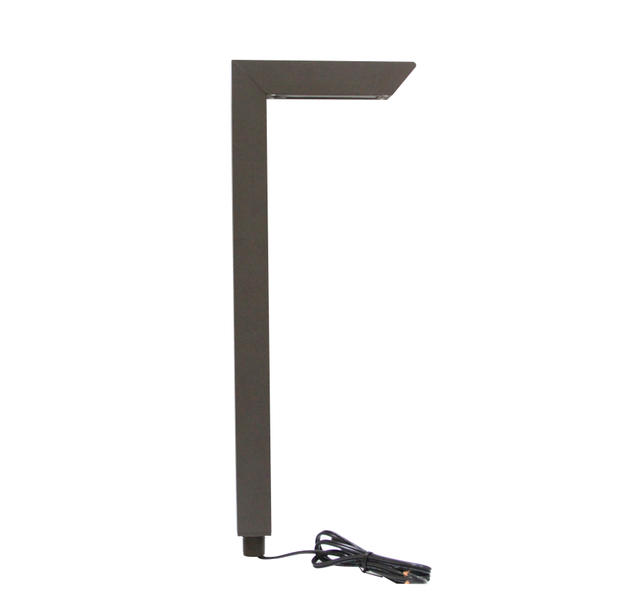
Path lights guide foot traffic and define borders. When evaluating these fixtures, consider the spread radius, glare reduction hood design, and stem height relative to surrounding flora. The best use cases include walkways, driveways, and low-lying garden beds. A common mistake involves spacing path lights too closely together. You want to space them to pool light gently on the ground, leaving soft shadows between each fixture. Do not overlap the light pools like an airport runway. Staggering them on opposite sides of a path creates a more natural, inviting flow.
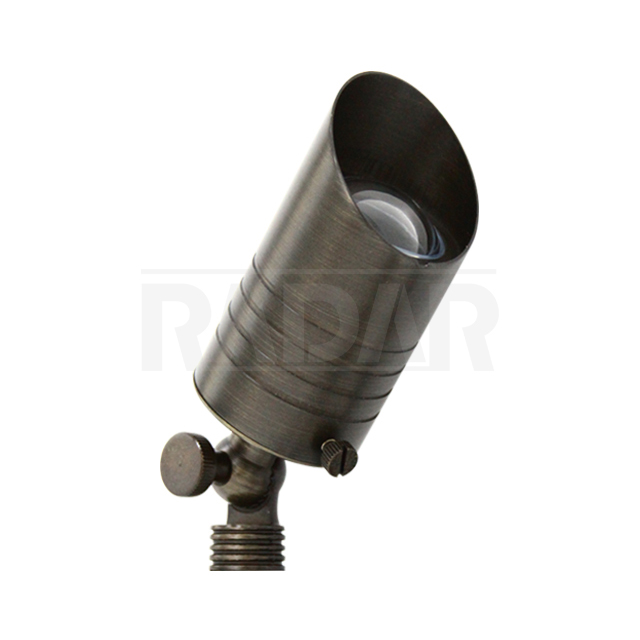
Directional lights push illumination upward to highlight vertical elements. Evaluation criteria should focus on beam angle adjustability, lumen output, and knuckle joint durability. Use 15-degree narrow spots to graze tall, narrow columns or flagpoles. Opt for 60-degree wide floods to capture broad tree canopies or wide architectural facades. The knuckle joint must feature robust teeth to hold heavy brass fixtures securely in place over time. These lights excel at architectural highlighting and drawing attention to primary focal points.
Integrating lights directly into masonry or wood structures improves nighttime safety and adds a refined touch. Evaluation criteria for hardscape lights include a low-profile design, efficient heat dissipation, and versatile mounting bracket compatibility. Best use cases involve retaining walls, deck stairs, and outdoor kitchens. These fixtures tuck neatly under the lip of a stair tread or wall cap, casting light downward onto the walking surface. Because they mount flush against solid materials, selecting fixtures with excellent thermal management prevents the LEDs from overheating and failing prematurely.
Certain landscape features require niche solutions. Assess your need for overhead string lights to create a festive atmosphere over a patio. In-ground well lights sit flush with the earth, making them lawnmower safe and ideal for turf areas where traditional spotlights would pose a tripping hazard. Wide-angle wash lights cast a soft, diffuse glow over broad surfaces, perfect for illuminating large retaining walls or the side of a house without creating harsh hot spots. Identifying these specialty needs early ensures a comprehensive lighting strategy.
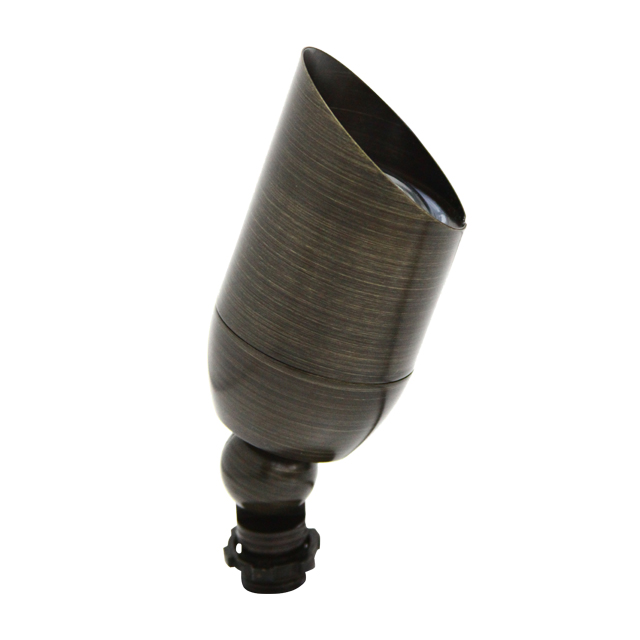
The physical construction of your fixtures dictates how long they will survive outside. Cutting costs on materials usually leads to replacing the entire system within three years. Understanding the trade-offs helps you allocate your budget effectively.
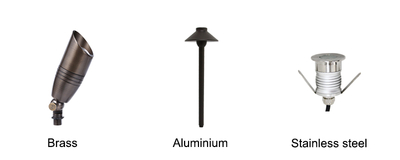
The metal used for the fixture housing determines its lifespan against moisture, soil acidity, and UV rays.
Cast Brass and Copper: These offer true lifetime durability. They naturally patina over time, blending beautifully into the landscape. They will not rust or corrode in coastal environments.
Aluminum: While lightweight, aluminum remains highly susceptible to oxidation. The powder-coat finish often peels or flakes after a few years of weather exposure, especially near saltwater.
Composite and Plastic: These carry a high risk of UV degradation, becoming brittle and cracking under physical stress or extreme temperature shifts.
Material Type | Durability | Weather Resistance | Best Application |
|---|---|---|---|
Cast Brass / Copper | Lifetime | Excellent (Develops Patina) | All environments, especially coastal |
Powder-Coated Aluminum | 5-10 Years | Moderate (Prone to peeling) | Dry, mild climates |
Composite / Plastic | 1-3 Years | Poor (UV degradation) | Temporary setups only |
The industry offers two primary methods for housing the LED diodes. Integrated LEDs feature diodes permanently sealed inside the fixture. They offer highly compact designs and precise optics. However, if the diode fails, you must replace the entire fixture. Drop-In fixtures use replaceable bulbs, such as MR16 or G4 formats. These are highly serviceable. They allow for easy swapping of beam angles and color temperatures without removing the housing from the ground. This modularity results in a significantly lower replacement cost over the life of the system.
Selecting the right color temperature defines the mood of your landscape. Industry professionals universally recommend 2700K (warm white) for residential landscapes. This temperature perfectly mimics the inviting glow of natural incandescent light, complementing foliage and brickwork. Matching lumen output to the target is equally important. Using too many lumens washes out the subject. Aim for 100-200 lumens for soft pathway navigation. Reserve higher outputs, ranging from 300 to 500+ lumens, for punching light up into the canopies of mature trees or grazing two-story architectural columns.
Even the highest quality fixtures will fail if installed incorrectly. The physical installation process introduces several risks that can compromise the electrical integrity of the network. Mastering wiring topologies and waterproofing techniques ensures long-term reliability.
Voltage drop is the silent killer of low-voltage systems. Daisy-chaining 20 fixtures in a single, continuous line on a 16-gauge wire guarantees failure. The first light will burn brightly, while the last light will barely glow. To mitigate this, implement the hub method or T-method for balanced power distribution. The hub method involves running a heavy-gauge main line to a central point in the yard. From that central hub, shorter, equal-length wires branch out to individual fixtures. This topology ensures every fixture receives the exact same voltage, resulting in perfectly uniform brightness across the property.
Electrical splices buried in the dirt face constant exposure to moisture. The critical importance of silicone-filled wire nuts or heat-shrink crimps cannot be overstated. Standard indoor wire nuts offer zero protection against water ingress. If you use them underground, moisture will wick up the copper strands, causing rapid corrosion. This leads to system-wide shorts and blown transformer fuses within months. Always use direct-burial rated, gel-filled connectors to seal the copper completely away from damp soil and irrigation runoff.
Running cable requires physical labor and strategic routing. Direct burial cable typically requires a trench depth of about six inches. This depth protects the wire from casual gardening activities and standard lawn aeration. When placing fixtures and running lines, you must account for plant growth and root systems. Avoid trenching too close to the base of mature trees to prevent severing critical roots. Leave a few feet of extra slack wire coiled under each fixture. This slack allows you to easily move the light as shrubs grow and the landscape layout evolves over the years.
A successful low-voltage landscape lighting project hinges on a few technical decisions. You must over-index on transformer capacity to ensure cool operation and future scalability. Prioritizing cast brass or copper materials guarantees the fixtures will survive harsh outdoor environments. Strictly managing voltage drop through proper wiring topologies like the hub method ensures uniform, professional-grade illumination. When shortlisting equipment, prioritize vendors that offer transparent specifications on wire gauge, multi-tap transformers, and lifetime warranties on brass housings. Avoid proprietary sealed systems in favor of serviceable drop-in bulb designs.
Sketch a scaled map of your yard, clearly marking desired focal points and pathway routes.
Calculate the total required wattage by assigning a specific lumen and watt count to each planned fixture location.
Select and purchase a multi-tap transformer sized at 1.5 times your calculated total wattage before buying any individual lights.
Source 12/2 or 10/2 direct burial cable and silicone-filled wire nuts to ensure a waterproof, low-resistance delivery network.
For homeowners, designers, and commercial projects seeking reliable outdoor illumination solutions, choosing an experienced lighting manufacturer can ensure better product quality, technical support, and long-term system performance. Radar Lighting specializes in outdoor and landscape lighting solutions, providing professional LED lighting products with a focus on quality manufacturing, innovative design, and customized solutions for different outdoor environments.
A: Calculate the total wattage of all the fixtures you plan to install, then multiply that number by 1.5. For example, if your lights total 100 watts, you need a transformer rated for at least 150 watts. This overhead prevents overheating and allows for future additions.
A: Yes, you can mix different brands as long as they operate on the same low-voltage parameters. Ensure that the total combined wattage of all mixed fixtures does not exceed the safe operating capacity of your transformer.
A: For most residential applications, 12/2 AWG direct burial cable is the standard. It handles moderate distances and standard wattage loads efficiently. For very long runs or systems with high total wattage, upgrading to a thicker 10/2 AWG wire helps prevent severe voltage drop.
A: This happens due to voltage drop. As power travels down a long wire, electrical resistance causes the voltage to decrease. To fix this, use a thicker wire gauge, switch to a multi-tap transformer to push higher initial voltage, or rewire using the hub method.
A: Integrated LEDs offer compact designs and precise moisture sealing, but if the diode fails, the entire fixture must be replaced. Replaceable drop-in bulbs are highly serviceable, allowing you to easily swap burnt-out lamps or change beam angles without replacing the heavy metal housing.
A: Low-voltage direct burial cable should typically be buried about six inches deep. This depth is shallow enough to avoid major tree roots during trenching but deep enough to protect the wire from standard lawn aerators, edging tools, and casual gardening trowels.
A: LED fixtures consume roughly 80% to 85% less electricity than traditional halogen bulbs producing the same amount of light. A 35-watt halogen bulb can often be replaced by a 5-watt LED, leading to massive reductions in monthly utility draw and allowing for smaller transformers.